Most of the drivers (almost all) are installed by default in Windows 7 but still some might not be installed like your old webcam driver. In that case, you have to install Windows 7 drivers manually.
Follow the steps provided in this tutorial to install windows 7 drivers manually.
Steps to change default browser in Windows 7
1. Step Click Start >> Control Panel

2. Step Click ‘System and Security’ link.
3. Step Click ‘Device Manager’ link. Alternatively, you can open device manager by right-clicking My Computer >> Properties >> Device Manager
4. Step In my screenshot you might have noticed that the PC Camera driver is not installed. As I said earlier almost all the drivers are installed automatically in windows 7 except few. In my case, PC camera couldn’t be installed. So I have to install it manually.
5. Step Now right click on the item shown over there and click ‘Update Driver Software’.
6. Step Now, if you have a driver CD or if you want to search driver from internet then click ‘Search automatically for updated driver software’. Then the installation will occur automatically. Just click next and finish. Alternatively, if you have saved driver in your computer then click ‘‘Browse my computer for driver software’’
7. Step Next, you will see ‘Installing driver software’ message is shown in the screen.
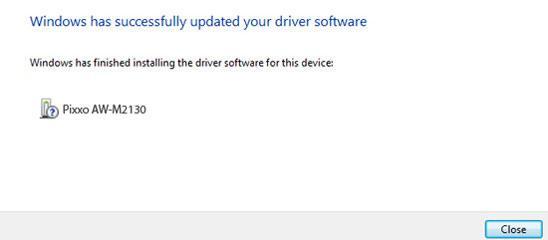
8. Step Finally, your driver is installed.
Video
Conclusion
Not all the drivers are installed by default in Windows 7. Sometimes you might have to install it manually as we want our device to function. And unless you don’t install driver your device like webcam, scanner etc won’t work!
