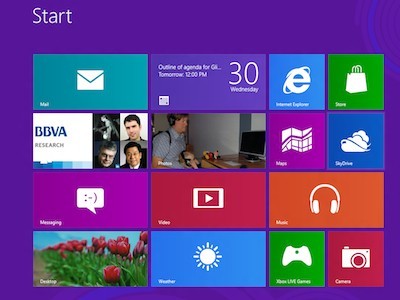
A step by step instruction on how to install Windows 8 professional. This can be used for versions of Windows 8.
Before Installing Windows 8
Before starting on the installation process it is important that you check whether your hardware meets Windows 8 system requirements and whether your hardware has all the required drivers for Windows 8. You can do it by using the Windows 8 upgrade assistant. Using the Windows 8 Upgrade Assistant, you’ll be prompted to check for compatibility.
It is also important to back up your files first.
The Windows 8 professional DVD is bootable it is therefore important that set the boot sequence. To set the boot sequence you need to look for the boot sequence under BIOS setup you also need to make sure that the first boot device is set to CD-ROM/DVD-ROM.
1. Step
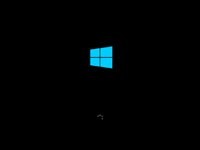
Insert the windows DVD in your DVD-ROM drive and start your PC. Windows 8 will start to boot up and you will get the following screen with a rotating progress bar.
2. Step
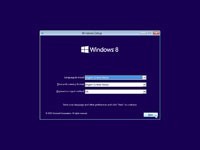
The next screen allows you to setup your language, time and currency format, keyboard or input method. Choose your required settings and click next to continue.
3. Step
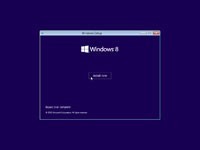
The next screen allows you to install or repair Windows 8. Since we are doing a clean install we will click on “install now”.
4. Step
A start up process will begin.

5. Step
In this step you must type your product key which comes with your Windows 8 copy . After you enter the product key correctly, click next.
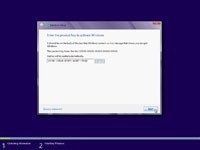
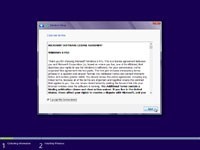
6. Step Read the license and terms after which you check the I Agree box and click next to continue.
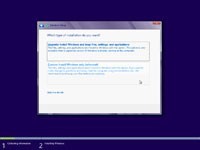
7. Step Here, you have to choose the installation type that you want but since it’s a clean install, that you are going to click on custom install.
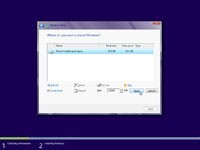
8. Step Choose where you want to install windows 8.If you only have one hard drive click on next and you will go directly to step 12. If you have 2 or more drives select the drive you want it to be installed in and go to step 12. If you want to partition a large drive do not click next but Go to step 9.
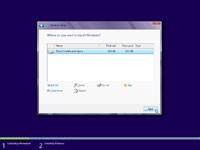
9. Step If you want to partition an existing drive then click new, and choose the size of the partition then click apply.
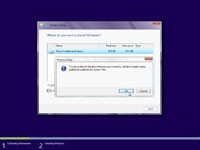
10. Step Click ok to create the new partition and windows will automatically create a system partition.
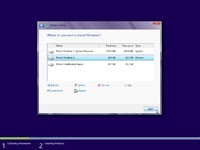
Step 11 You will have 3 partitions. Partition 1 is reserved for the system and you should leave it that way .Partition two is 30 GB .The third partition is unallocated .Choose partition two and click continue.
Note: You may have other configuration, so don’t worry if the numbers won’t match, but you should have in partition 2 a minimum of 30 GB.
Step 12 Windows starts to copy files to your hard drive.It may take a few minutes.
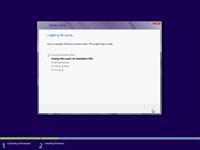
Step 13 After all files are copied, windows will restart.
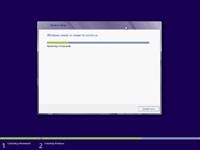
Step 14 Your pc goes through various progress bars and information messages after which windows may restart automatically.
Step 15 You are now presented with “Let’s go through a few basics” screen. It will automatically select personalize option.
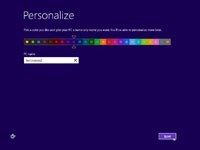
Step 16 Choose your pc name and personalize the colour.
Step 17 Here can choose customize or express settings .Choose customize to make further customization.
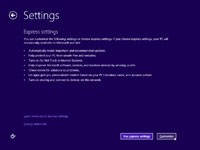
Step 188
You are done and now you can use your windows 8.
